![Featured image of post [Programming] - Creation and publication of a Python library](/Pip/python-pip.png)
Introduction
For some time now, during the Python development work I undertake, I find myself spending time checking if new versions of the libraries I use are available. This can become tedious, especially when I have to regularly consult my requirements.txt file, where the project’s libraries are listed. In this article, I will explain the creation of my project that enables searching and updating the requirements.txt file with the latest versions of Python dependencies automatically. This project is based on the website: https://pypi.org/, which consolidates all Python libraries.
Development
In this section, we will focus on developing the code to retrieve the latest versions of libraries from the site: https://pypi.org/. Of course, the code will be written in Python 3 (version 3.12).
Initially, our goal is to find the simplest method for a person to check if their dependencies are up to date and upgrade those that are not. We have chosen to enable libraries to be updated with just one command. You will need to write the following command, adding optional arguments to instruct the code to perform certain actions:
check-library
After addressing user interaction, our next step is to understand how to retrieve the latest versions of the used libraries. To achieve this, we will go through the file where the used libraries are stored (typically, the requirements.txt file). Subsequently, we will utilize the RSS feed, a web format easily understood by a bot, of the libraries used in the project to determine if these libraries have versions higher than those currently used. At the end of this process, a new file named requirement-output.txt will be created with the updated versions of dependencies. Here is an explanatory diagram of the entire process:
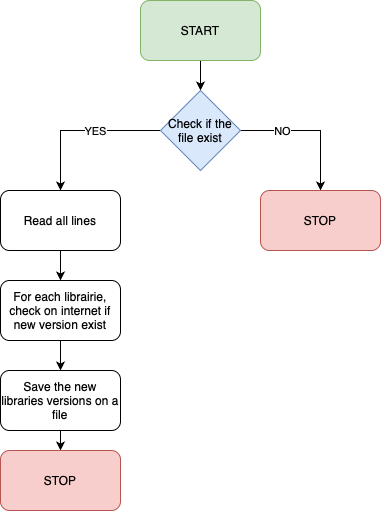
We have also included a default “verbose” section indicating whether the scanned library is up to date or not. In the “Usage” section, we will provide detailed information on all customization possibilities for this code to make the program appreciated by a wide audience.
To conclude, here is an example of using the library:

Publication
After ensuring that our program is correct, we need to publish it on the website: https://pypi.org/. We will now explain the process for doing so.
Ajout d’un fichier setup.py
Firstly, we need to create a file named setup.py in which we will specify all the characteristics of our program. Here is the one I have used:
from setuptools import setup

setup(
    name='check_library',
    version='1.0.4',
    author='Bapth',
    description='Check and update libraries in a requirements file ',
    long_description=open('README.md').read(),
    long_description_content_type='text/markdown',
    url='https://github.com/Bapth-R/check_library.git',
    py_modules=['check_library'],
    license = 'Apache License, Version 2.0',
    install_requires=[
        'requests',
    ],
    classifiers=[
        'Programming Language :: Python :: 3',
        'Operating System :: OS Independent',
    ],
    entry_points={
        'console_scripts': [
            'check_library=check_library:main',
        ],
    },
)
Here, we specify the project’s name, version, author, documentation, license, and … All of this information is public and can be retrieved by running the following command after installing the library:
>>> pip3 show check_library

# Output
Name: check-library
Version: 1.0.4
Summary: Check and update libraries in a requirements file
Home-page: https://github.com/Bapth-R/check_library.git
Author: Bapth
Author-email: None
License: Apache License, Version 2.0
Location: /home/debian/.local/lib/python3.9/site-packages
Requires: requests
Required-by:
Creating an account on the PyPI website
To publish a new Python library, we need to register on the PyPI website, which is quite easy. Afterward, we’ll need to create a token that allows us to authenticate when we want to make changes to the library. To do this, go to the URL: https://pypi.org/manage/account/token/ and generate a token. The format should be as follows: pypi-{170}. Once generated, place this token in the .pypirc file, which should be present at the project’s root. The format of this file should be as same as the example below (the only element to modify is the password):
[distutils]
index-servers =
  pypi

[pypi]
repository: https://upload.pypi.org/legacy/
username:__token__
password:pypi-*********
Once created, it is wise to create a .gitignore file to specify certain files not to be published on Github, such as the file containing the token. Here is mine:
venv/
.pypirc
.DS_Store/
__pycache__
dist/
build/
*.pyc
*.pyo
*.pyd
*.egg-info/
After completing all these steps, we have created a GitHub repository to store our code, allowing everyone to see the actions performed by the script.
After the repository creation and our code push, we have to publish our code so that it can be downloaded using the command: pip3 install check-library. To do this, execute the command: python3 setup.py sdist bdist_wheel, which will create three folders:
- build
- check_library.egg-info
- dist
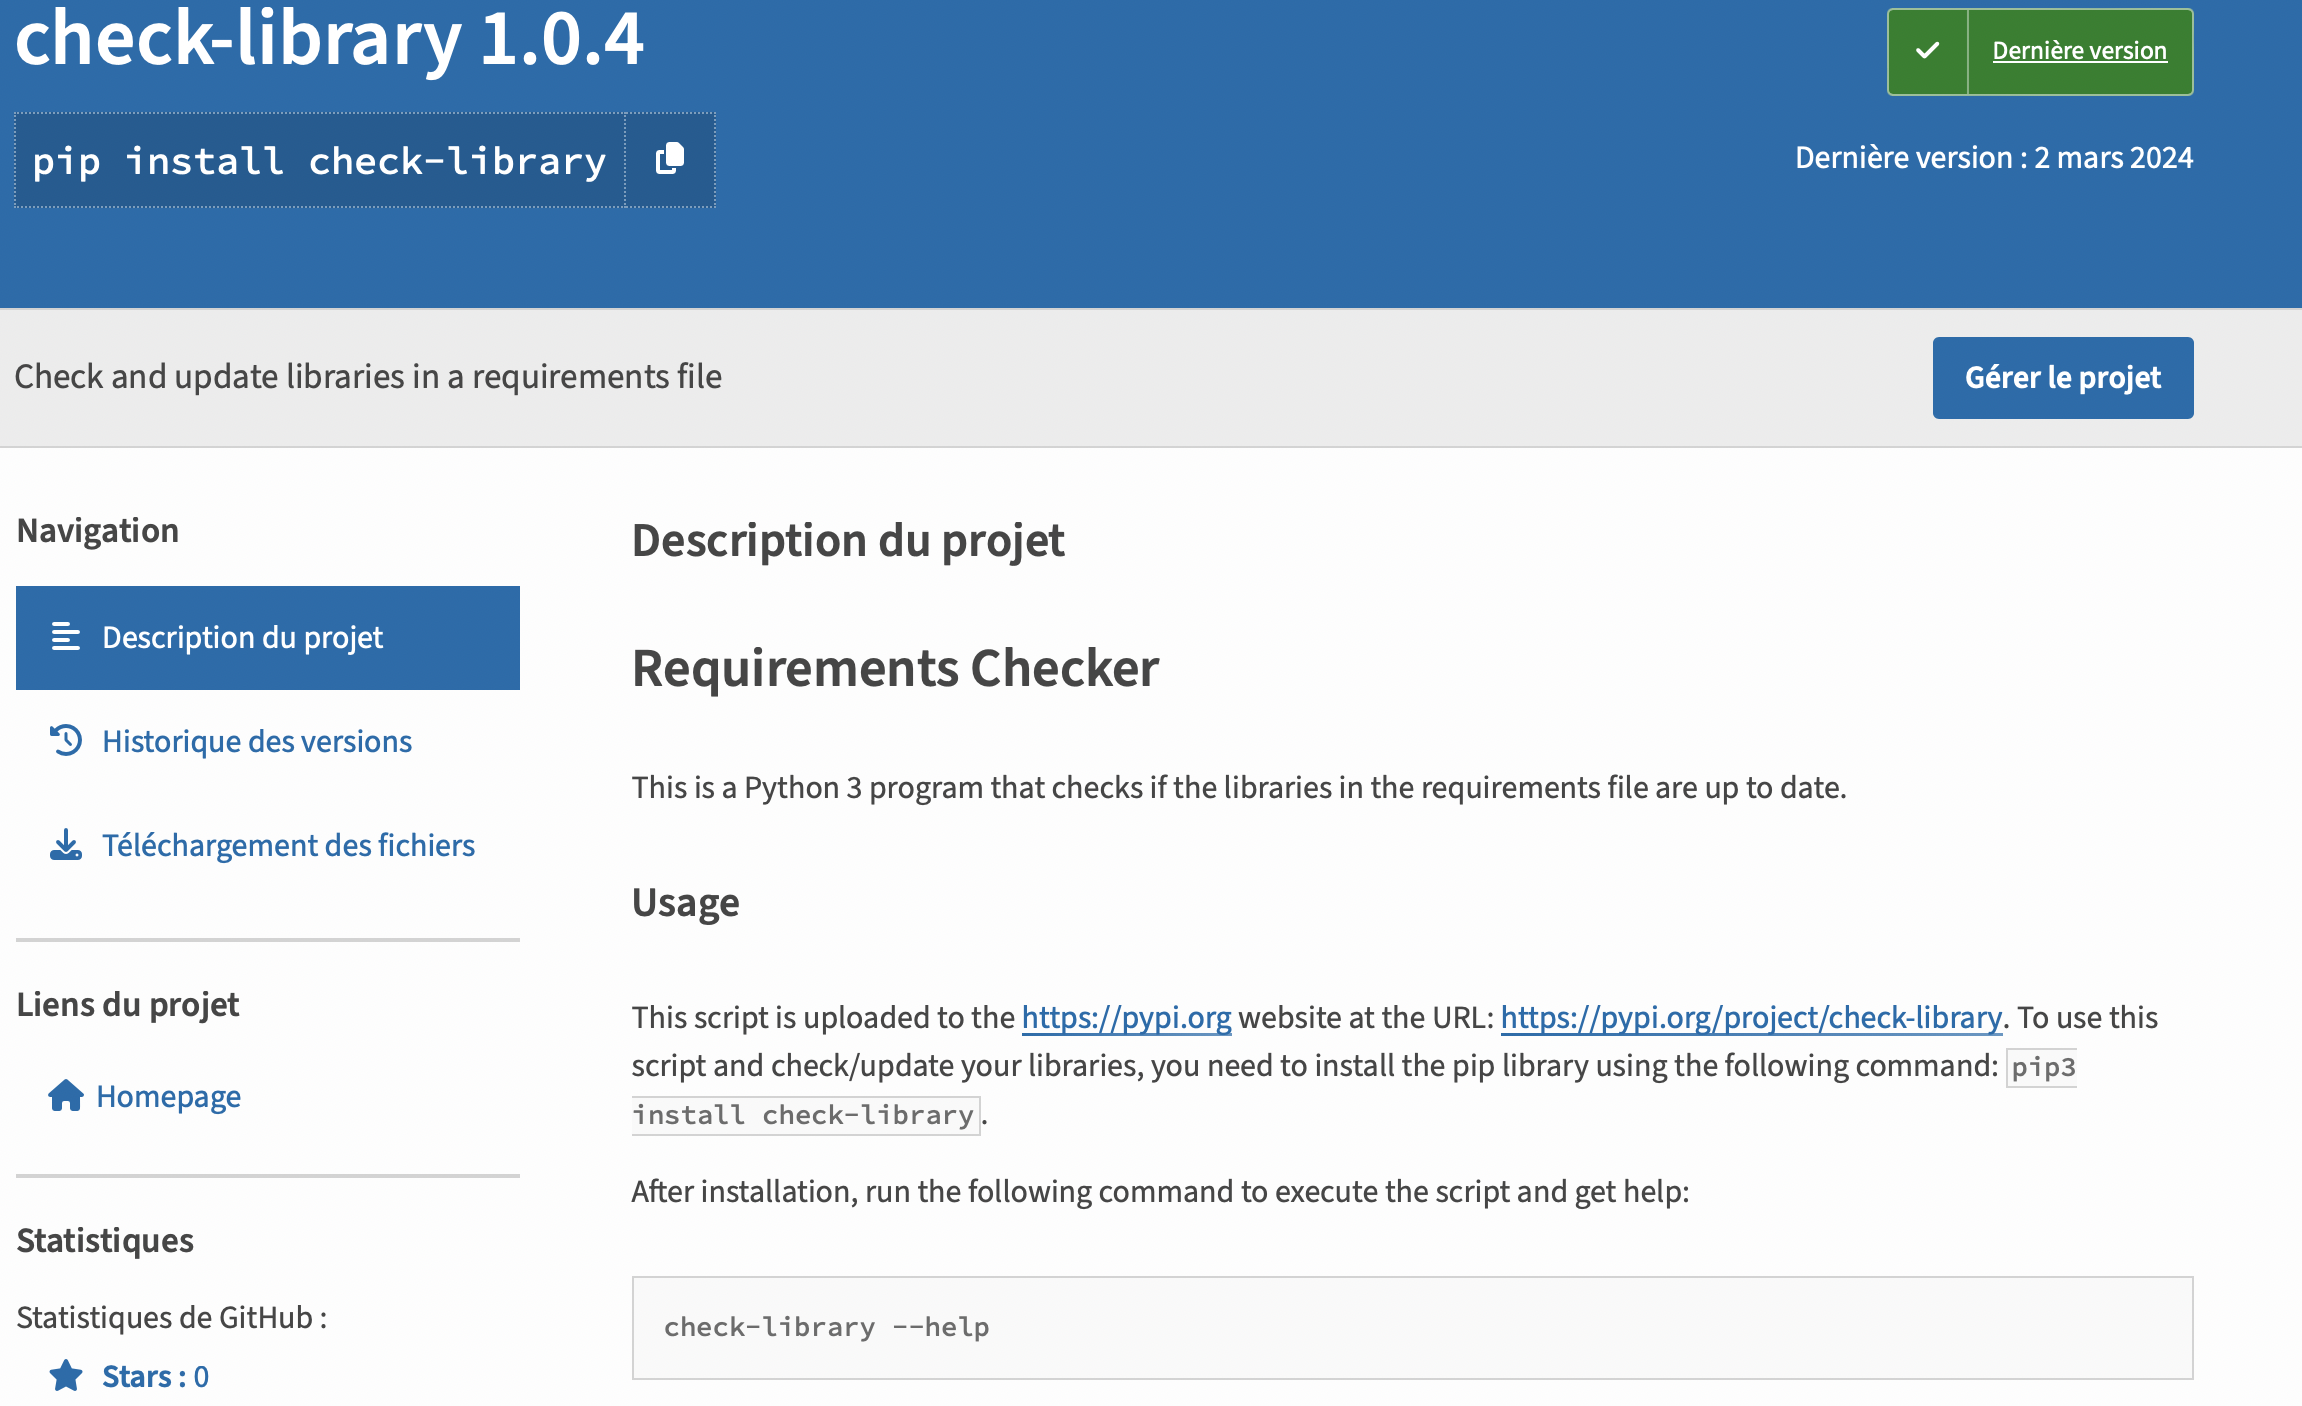
Once done, we must use the command to publish our library: python3 -m twine upload dist/*. To ensure that our library has been published successfully, we can visit the PyPI website: https://pypi.org/project/check-library/
How to use
In this “how to use” section, let’s explore how to use the library. The documentation is already available on my GitHub: https://github.com/Bapth-R/check_library, however, I will summarize it here.
As we saw at the beginning of this article, this library aims to be as user-friendly as possible. Therefore, you can use it without needing to be an expert. Simply enter the command: check_library in a terminal. This will take all the libraries listed in the requirements.txt file, retrieve their latest versions, and create a file named requirement-output.txt, which will be the updated requirements.txt file.
However, we can customize this library to meet various needs. It can:
Change the name of the
requirements.txtfile if the file used to store libraries has a different name, using the-por--pathoption followed by the file name.Change the destination file name. By default, it will be named
requirement-output.txt, but we can modify the default name using the-oor--outputoption followed by the file name.Remove the verbose option. This will no longer display the libraries in the terminal, only the message:
Requirements file updatedwhen the program has finished. To do this, use the-vor--verboseoption.Overwrite the original file. To avoid having multiple requirements files, the
-for--forceoption allows overwriting the input file with the new library versions.The
-hor--helpoption provides information on script customizations and how to execute it.
Case of study
Let’s now explore some usage examples to make it clearer.
Example 1
In this example, we want to update our libraries from the config/requirements.txt file. We want the output file to be named: config/requirements-output.txt. To achieve this, we need to execute the following command:
>>> check_library -p config/requirements.txt -o config/requirement-output.txt
Example 2
In this example, we want to update our libraries from the requirements.txt file (default) and have the updated versions of the libraries placed back into this file. To achieve this, we need to use the following command:
>>> check_library -f
Indeed, as the default input file is requirements.txt, we didn’t need to specify the path to the original file. Additionally, we want to overwrite this file to update it. Therefore, we need to use the -f option, which will force the overwrite of the file.
Improvements
Let’s now focus on various improvements that we can implement in this program to make it more complete.
CVE discovery
For each outdated library, we can check if vulnerabilities have been discovered between the version marked in the file containing the dependencies used by the project and the current versions. If yes, provide the CVSS score for each vulnerability.
Automatic Publication
For each modification of the source code published on Github, a workflow could be set up to automatically publish the new version on the PyPI website after conducting preliminary unit tests.
Automatic Discovery of Used Libraries
A final improvement could involve automatically discovering the libraries used by the project and then generating/modifying the file listing the used libraries.
Conclusion
To sum up, this project has made it easier for me to manage Python library versions since the script handles it automatically. It also helped me to understand how Python libraries are published. If you find this project interesting, don’t hesitate to “star” it on Github :)
